Network
Open the menu on the Alluno bar, choose Settings, and scroll to Network. Choose Save at the top after a change.
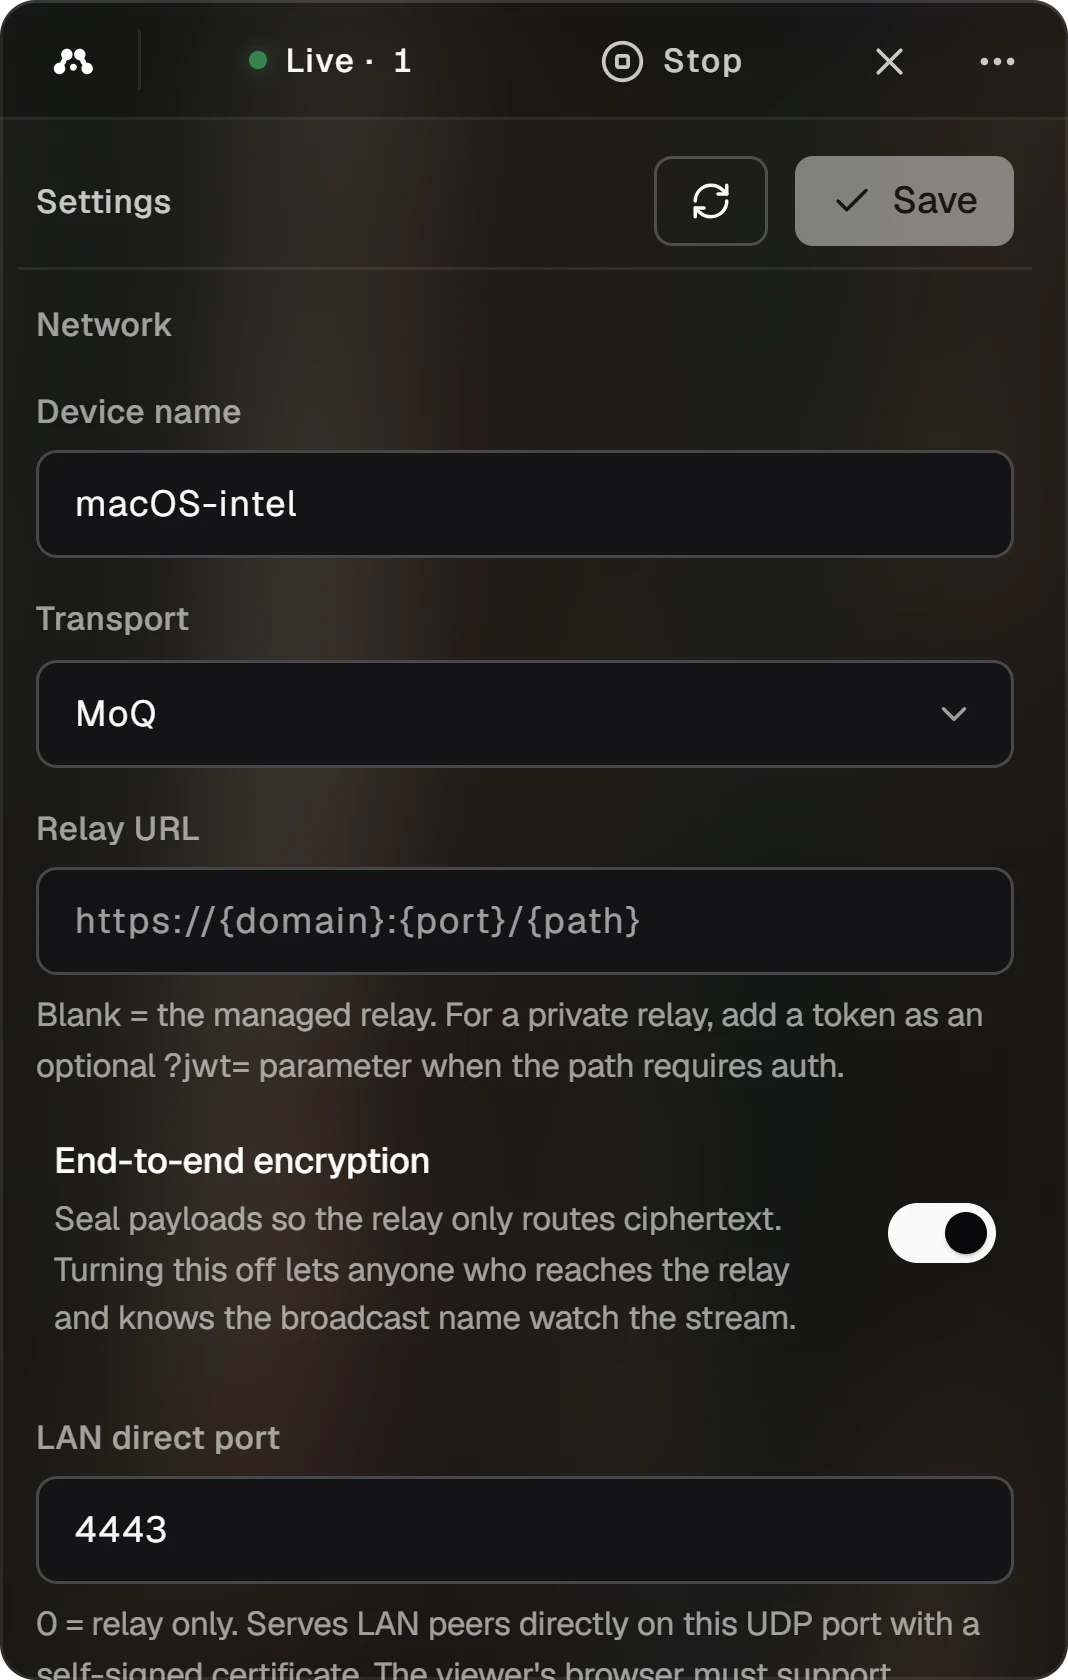
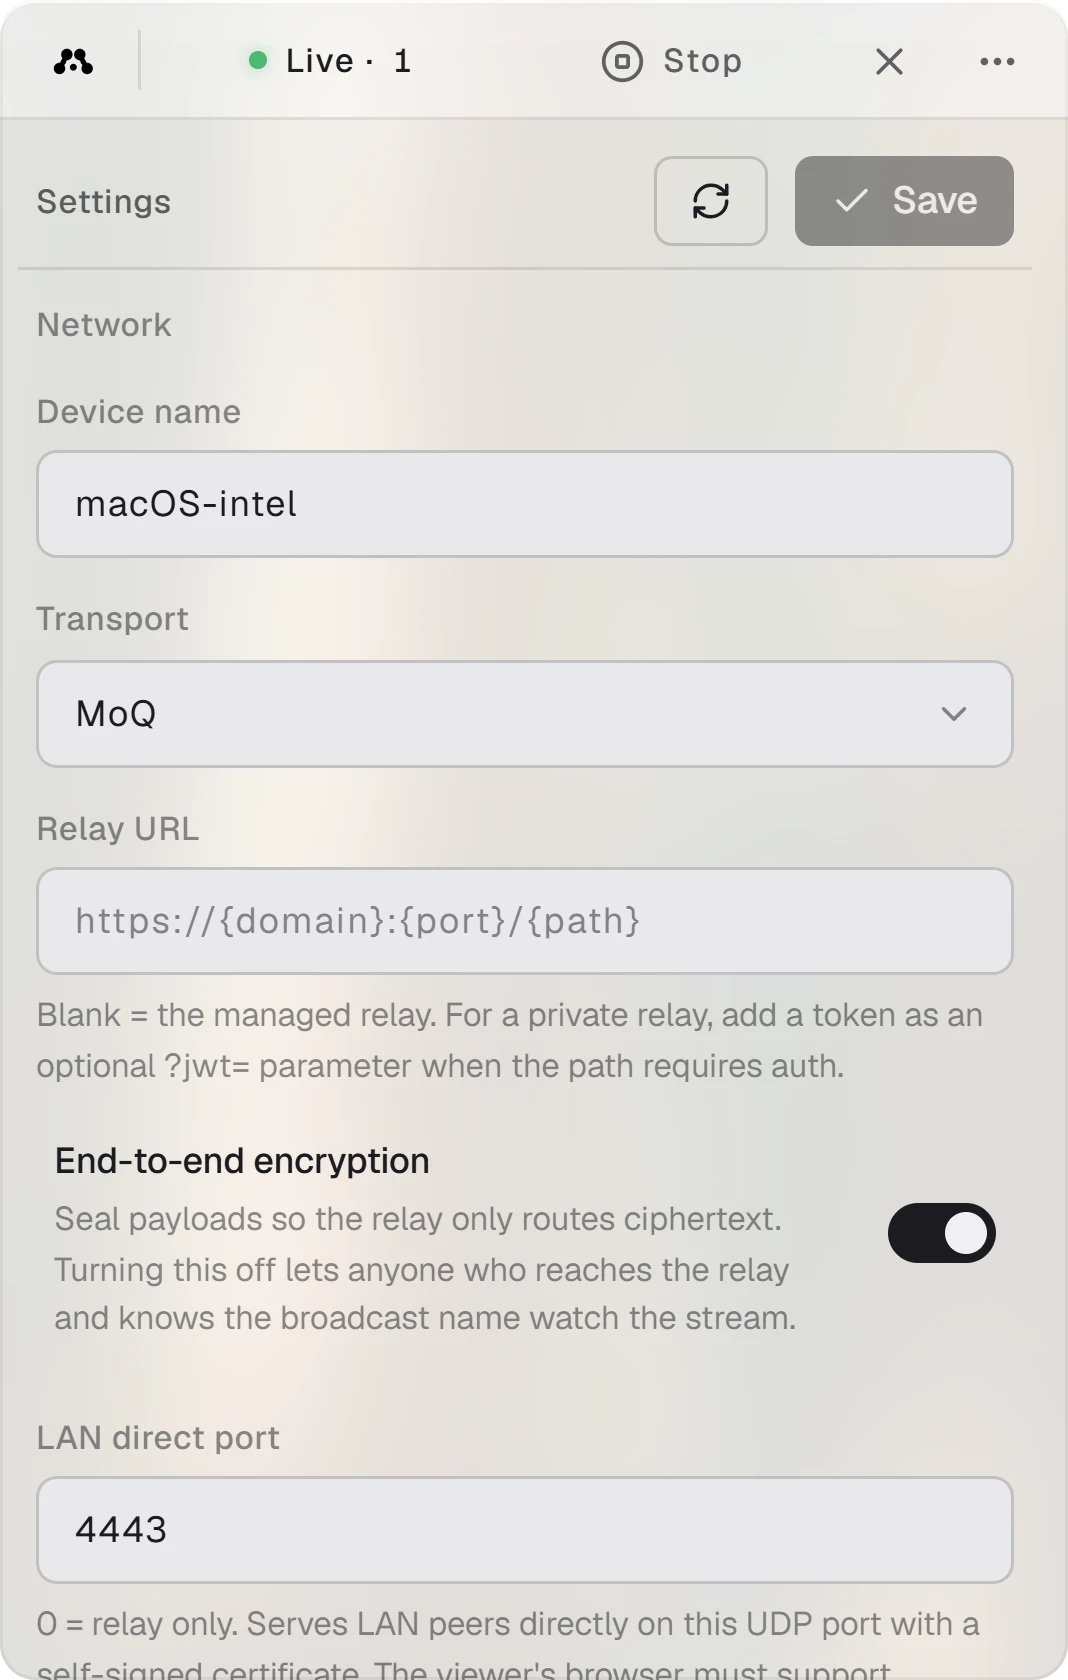
The name your dashboard and the people you share with see.
How the stream travels: MoQ (Media over QUIC, through a relay) or WebRTC. The settings under it change with your choice.
Leave it blank to use Alluno's relays. To use a relay of your own, enter its address here.
Seals the stream so the relay only passes on data it cannot read. With it off, anyone who reaches the relay and knows the stream's name can watch.
Lets people on the same network connect straight to this computer on this UDP port, skipping the relay. Their browser needs WebTransport for this, and falls back to the relay otherwise. 0 sends everyone through the relay.
Bind IP picks the network interface, and 0.0.0.0 means all of them. Public IP is offered next to the local addresses when you forward the direct port on your router, so people outside your network can connect directly too.
With WebRTC chosen, the section holds WebRTC's own settings instead: the packet size (MTU), the UDP ports, Force relay connection to send everything through a TURN relay, and the STUN and TURN servers.
Control and startup
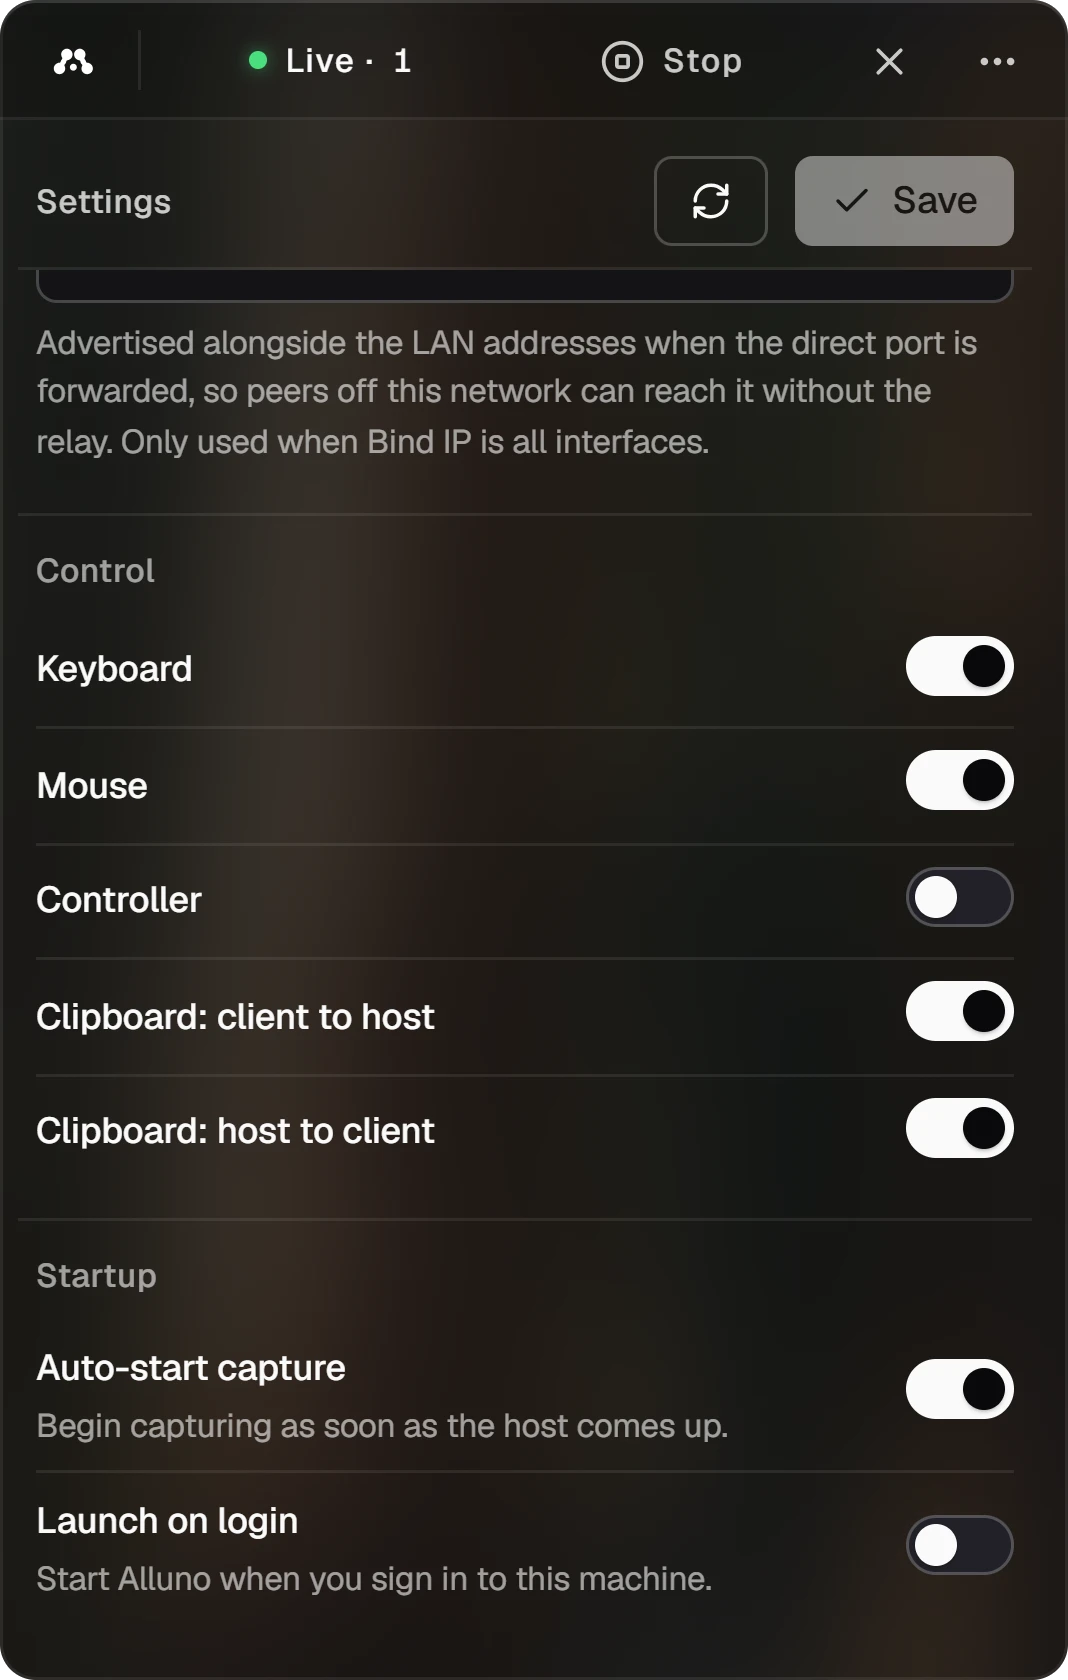
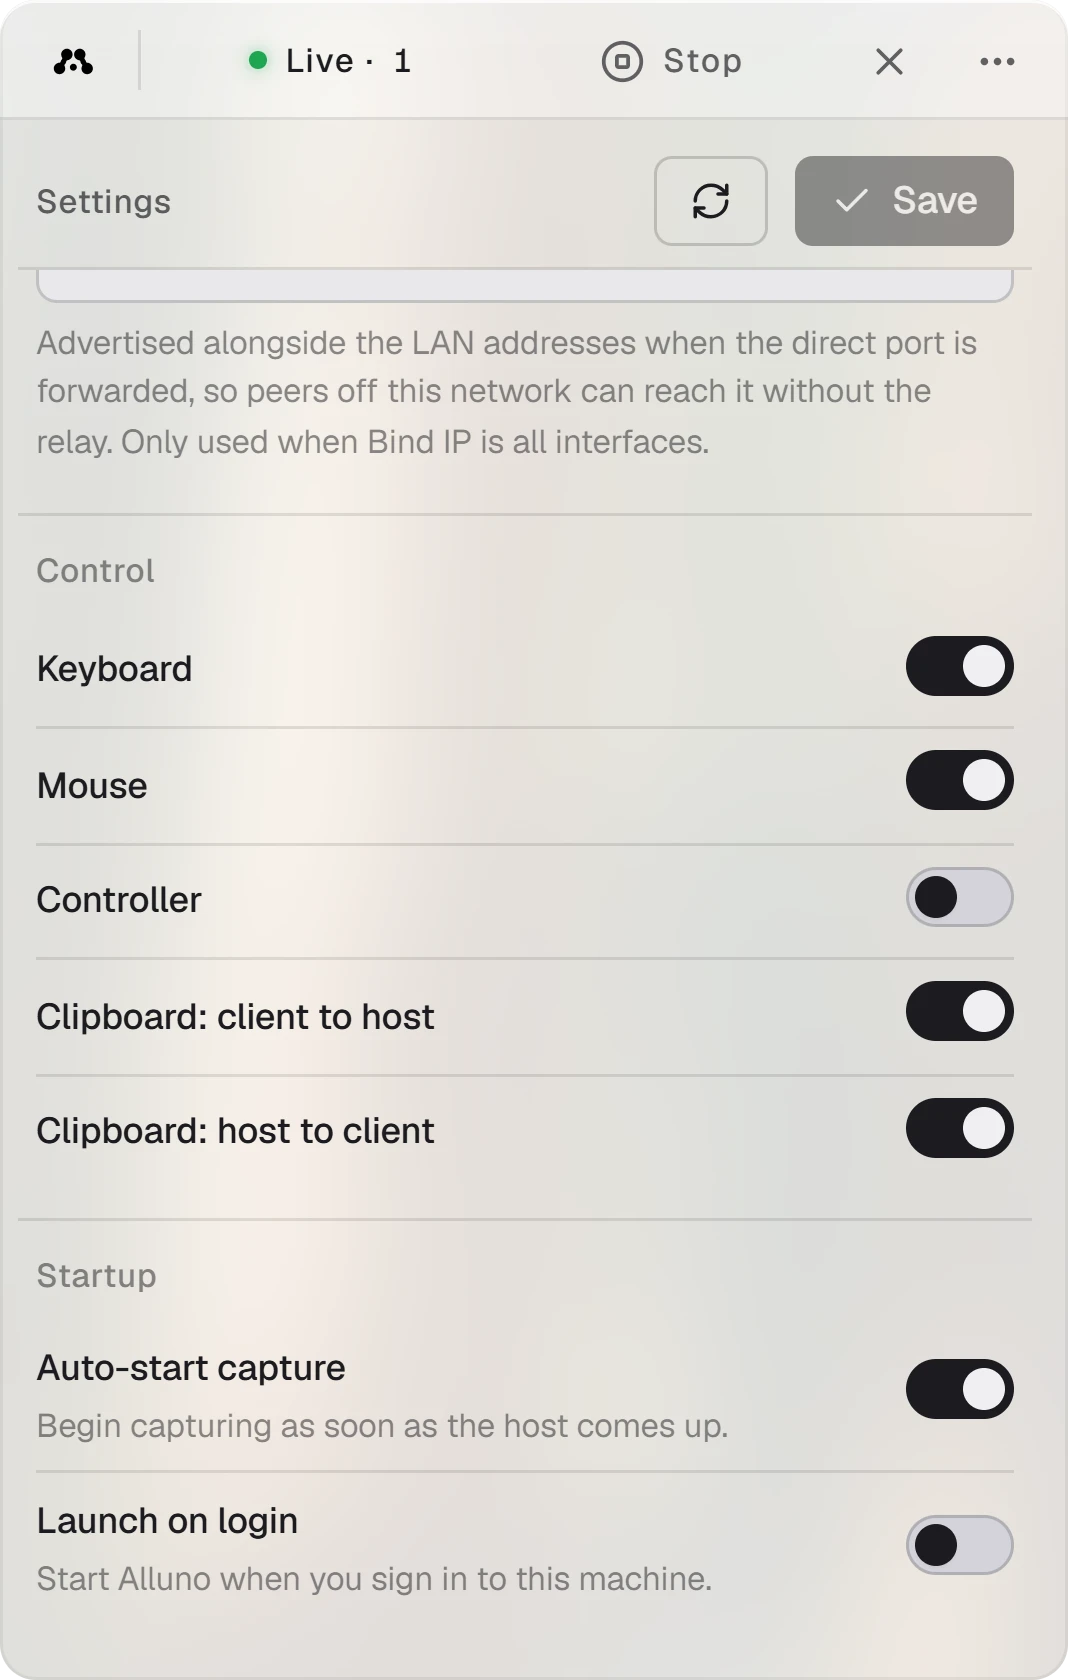
- Control decides what anyone connected may send to this computer: Keyboard, Mouse, Controller, and the clipboard in each direction. Clipboard: client to host lets people paste into this computer, and Clipboard: host to client lets them copy from it.
- Auto-start capture starts capturing as soon as the app is up.
- Launch on login opens Alluno when you sign in to this computer.
Startup is hidden while the background service is installed. The service starts Alluno for you.
Background service and drivers