Open Settings
Open the menu on the Alluno bar and choose Settings. The panel scrolls, from Video at the top down to Startup.
Change what you need, then choose Save at the top. The app stores the change and applies it. A dot beside Settings means there are changes you have not saved yet, and the round arrows beside Save load the saved settings again.
Video
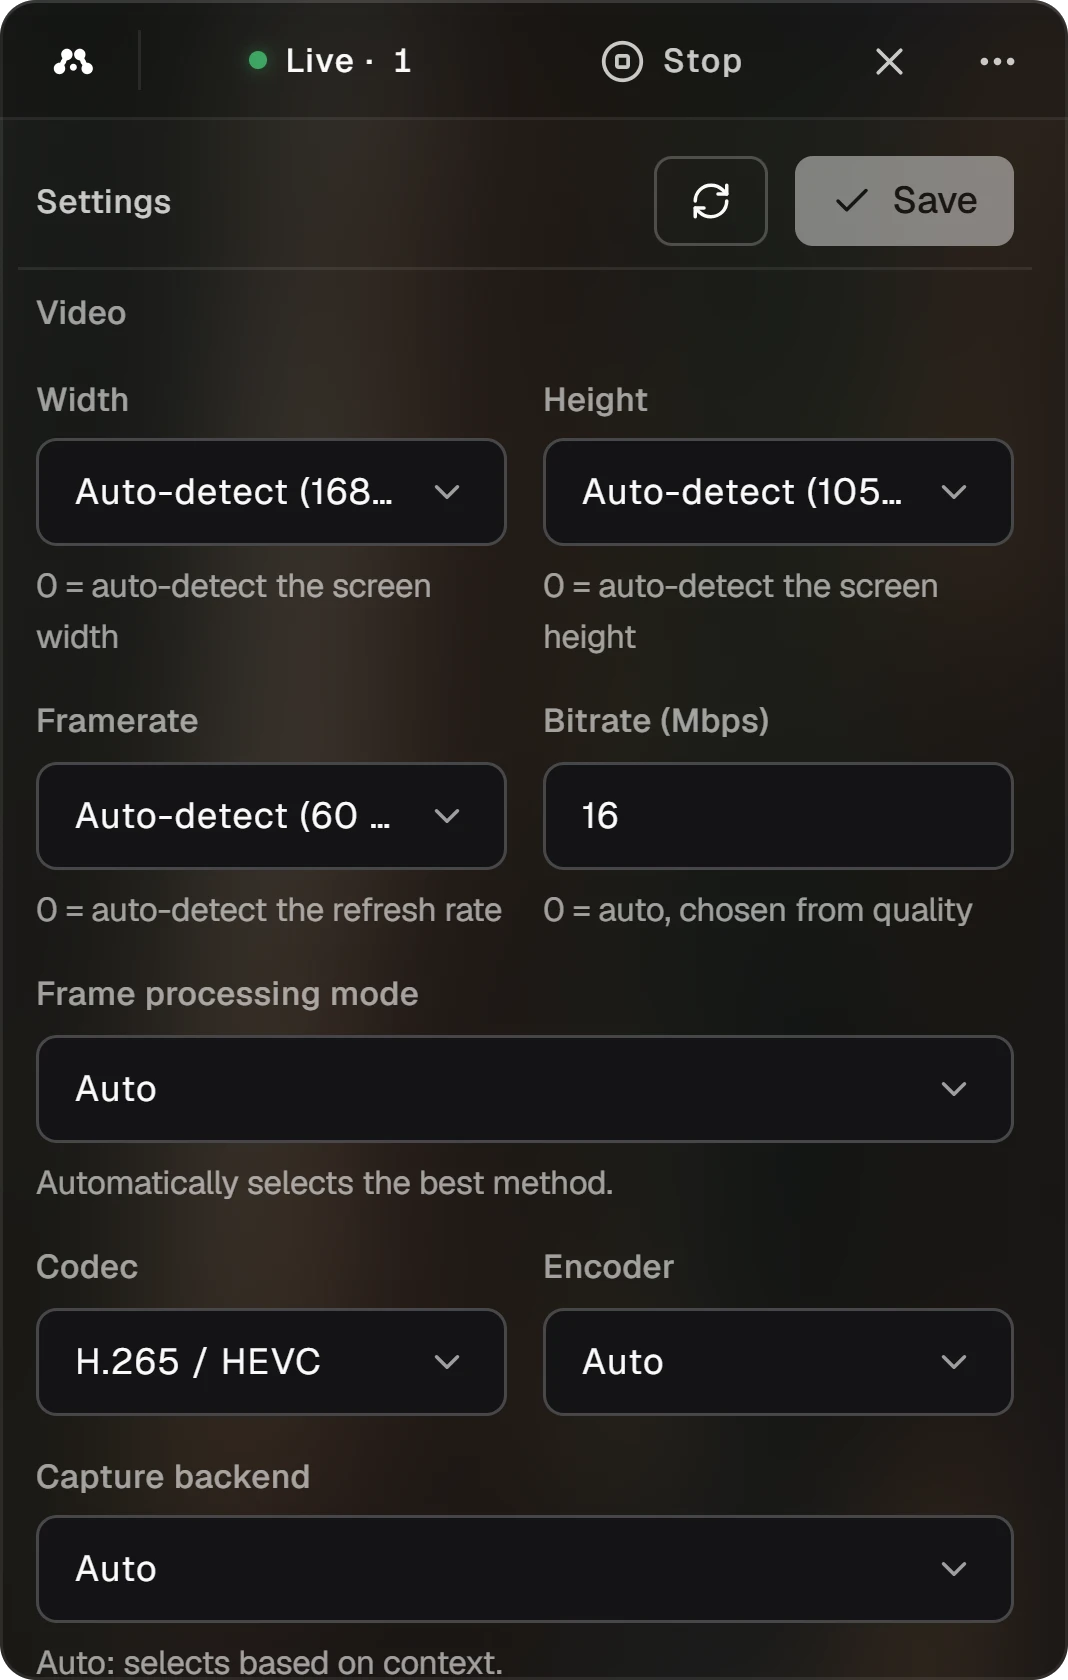
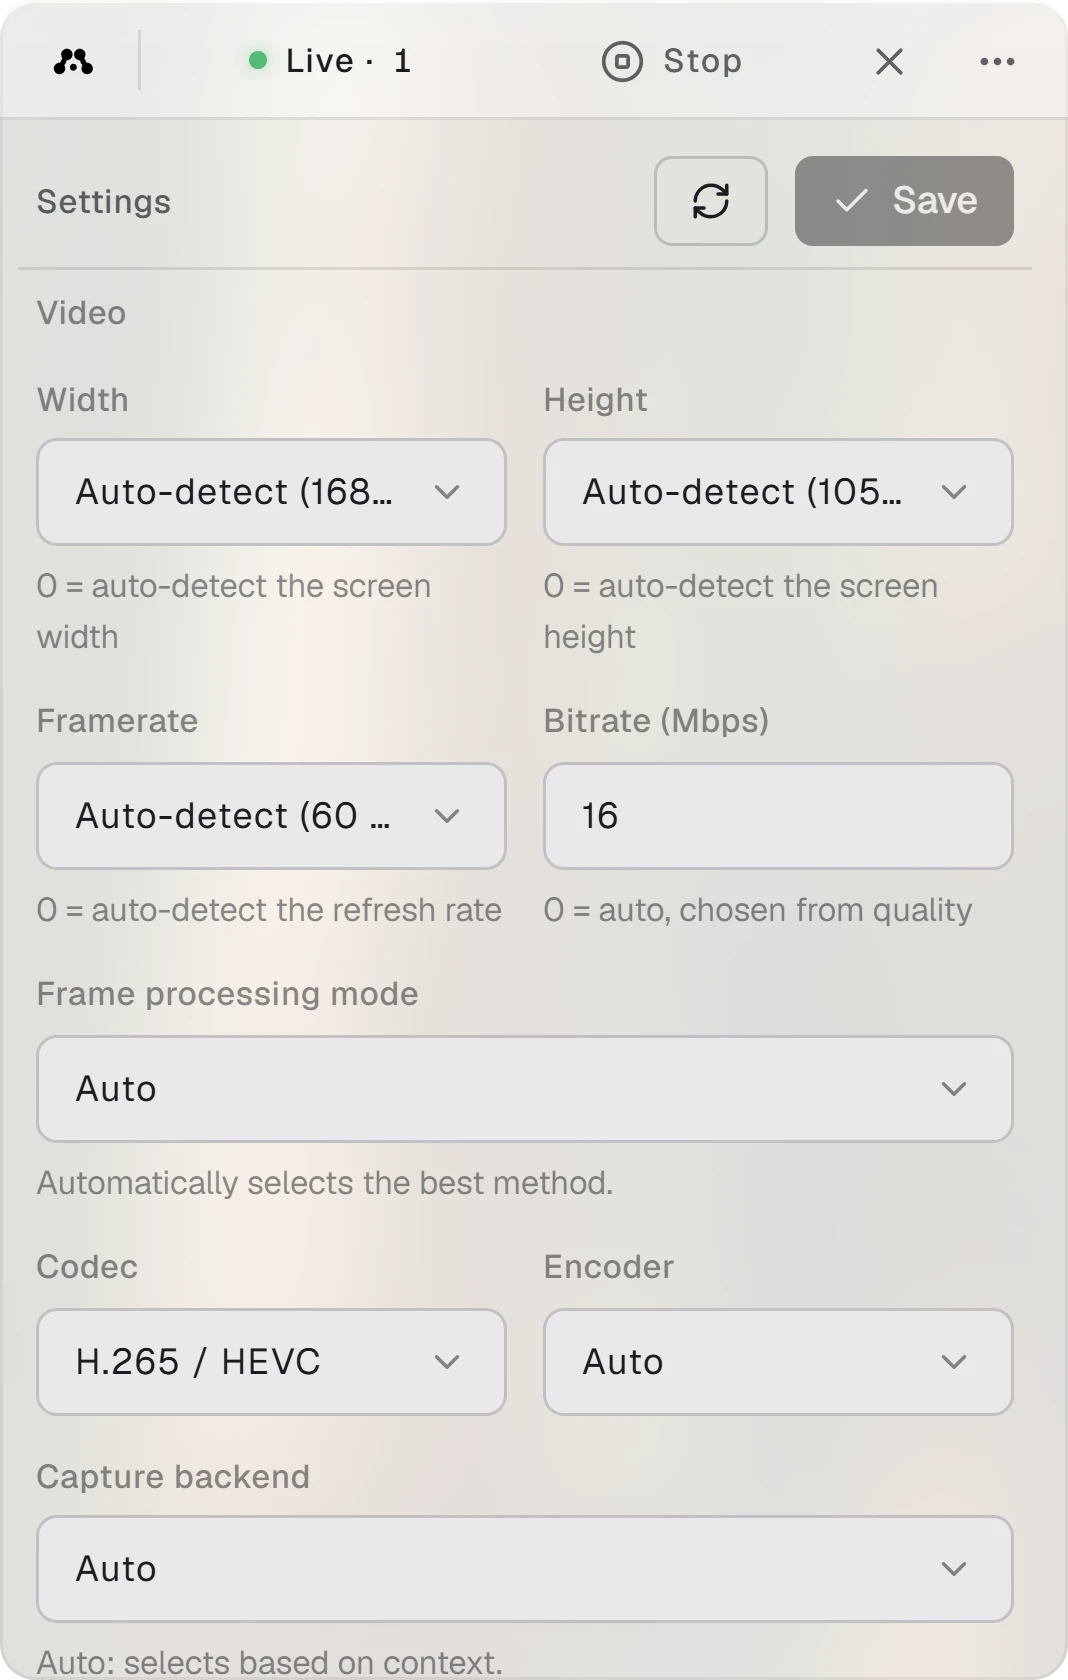
The size of the picture you send. Auto-detect uses the screen's own size, and the number in brackets shows what it found.
Auto-detect follows the screen's refresh rate.
How much data the video may use each second. 0 lets Alluno choose from the quality.
How each frame is prepared for the encoder. Auto picks the best method for this computer.
The video format, and the part of the computer that encodes it. The lists offer what this computer supports. Auto picks for you.
How the app reads the screen. Auto picks one for the situation.
Display, colour and sound
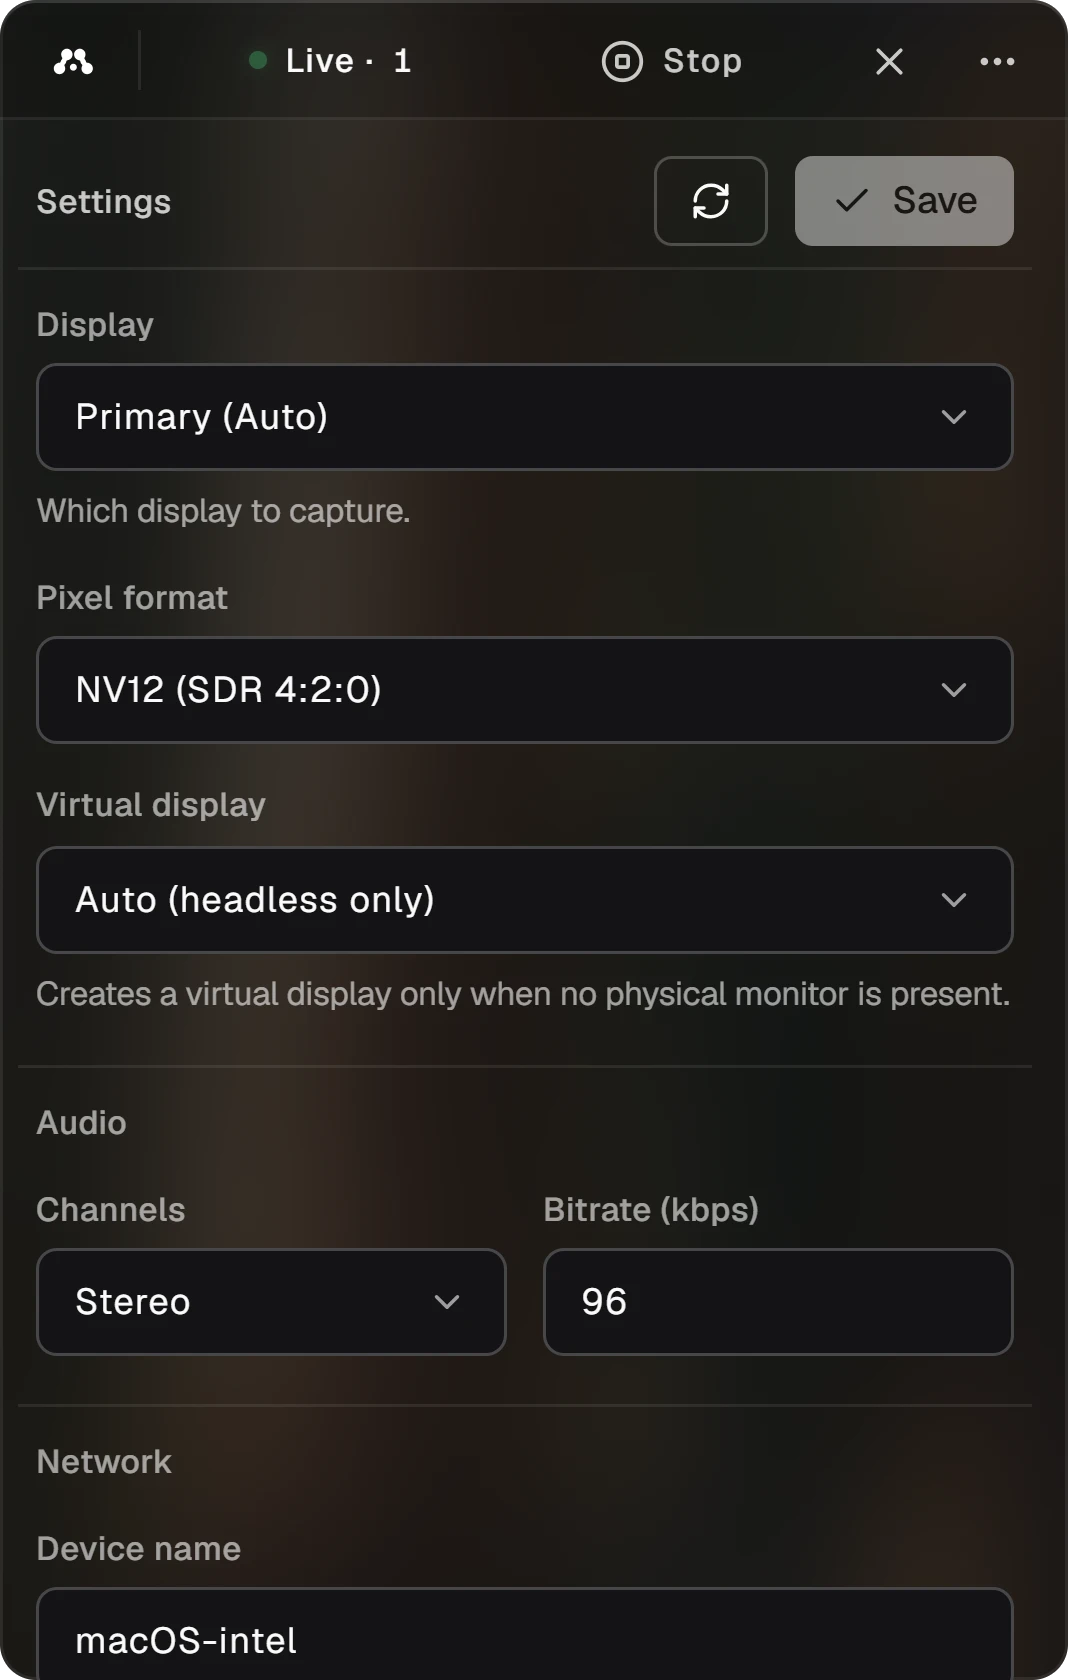
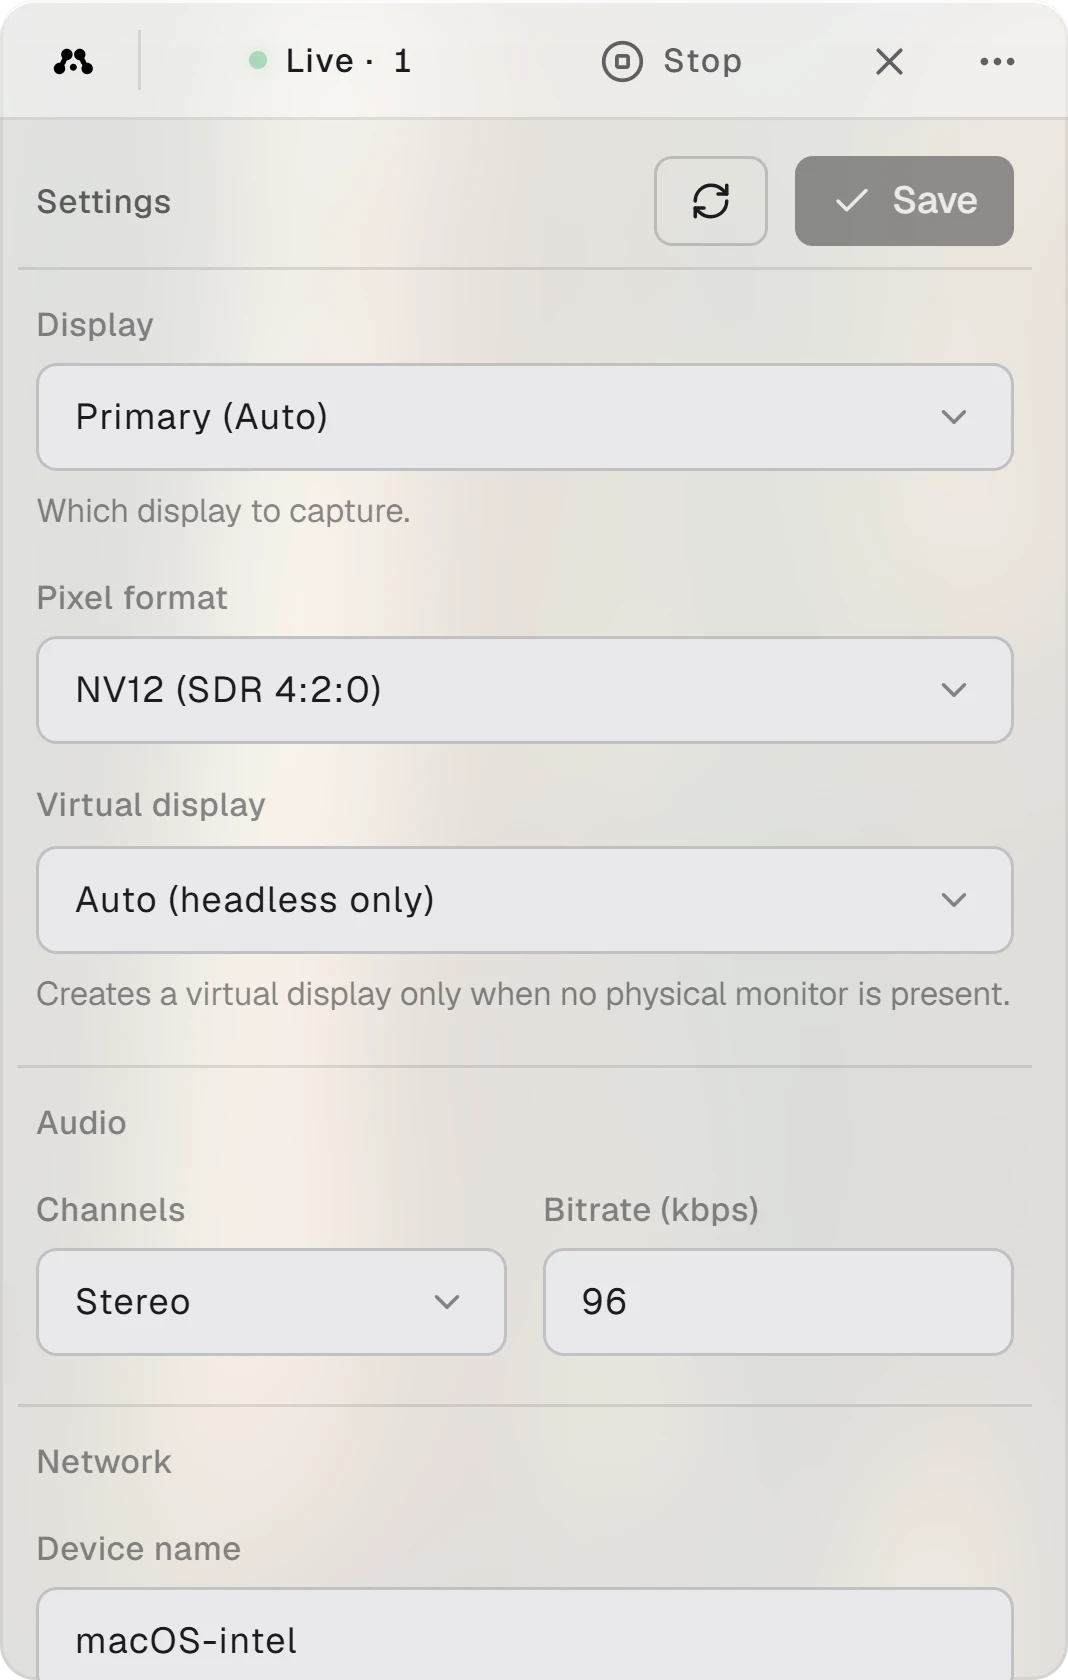
Which screen to send, when the computer has more than one. Primary is the main screen.
How colour is packed in each frame. NV12 is standard colour. P010 carries HDR when the screen itself shows HDR. On Windows and Linux the list adds 4:4:4 formats, which keep coloured text sharper.
Auto (headless only) creates a virtual screen only when no monitor is attached, so a computer with no screen still has a picture to send.
Channels sets mono or stereo, and Bitrate how much data the sound may use, in kbps.